Built with mbed - Gaming with Pokitto
This post was originally published on Mbed Developer Blog.
A big gray box on a desk. A bulky display next to it, gray text on a blue background. A child in front of it, frantically typing commands on the keyboard. Then the wonderful sense of excitement when the computer responds… “Hello world”. For many of us, this was not only how we started programming, but also how we became developers. Naturally, we’d want to instill this feeling into the next generation.
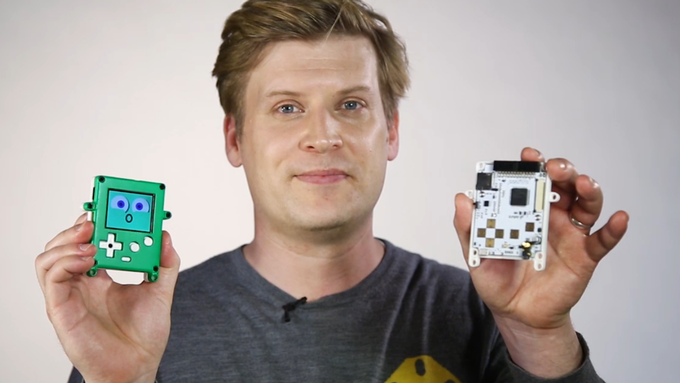
In the past years, we have seen a variety of projects trying to inspire kids to program: from courses such as code.org to complete separate devices such as the BBC micro:bit. But what gets kids more excited than games? Especially if they can take their creation everywhere? That’s where Pokitto comes in: a tiny handheld game console with a bright color screen that anyone can program from their browser. It’s also built with Mbed.
With the device releasing in January, that’s reason enough for Jan Jongboom (Developer Evangelist at Arm) to have a chat with Jonne Valola, creator of Pokitto.

Congratulations on launching. Where did you get started?
It started when I was trying to get my kids prepared for the IoT world, by getting them interested in electronics and programming. A lot of the IoT examples boil down to just blinking an LED, which gets boring quickly. At some point I saw some of the Arduino game consoles, and kids seemed to be way more interested in these. However, they’re very limited: monochrome displays with low refresh rates and very slow. Plus they did not serve as a good introduction for IoT, as there’s no way of connecting extra peripherals to them.
At that point I was working on ways to control color displays as efficient and cheaply as possible, for a welding machine company, and I figured that knowledge could be transferred to a little handheld console aimed at kids. I submitted the idea to the ‘JALO’ business idea competition, which we won. From there it went fast. We incorporated, got an investor and then launched a successful Kickstarter campaign.
What’s inside the Pokitto?
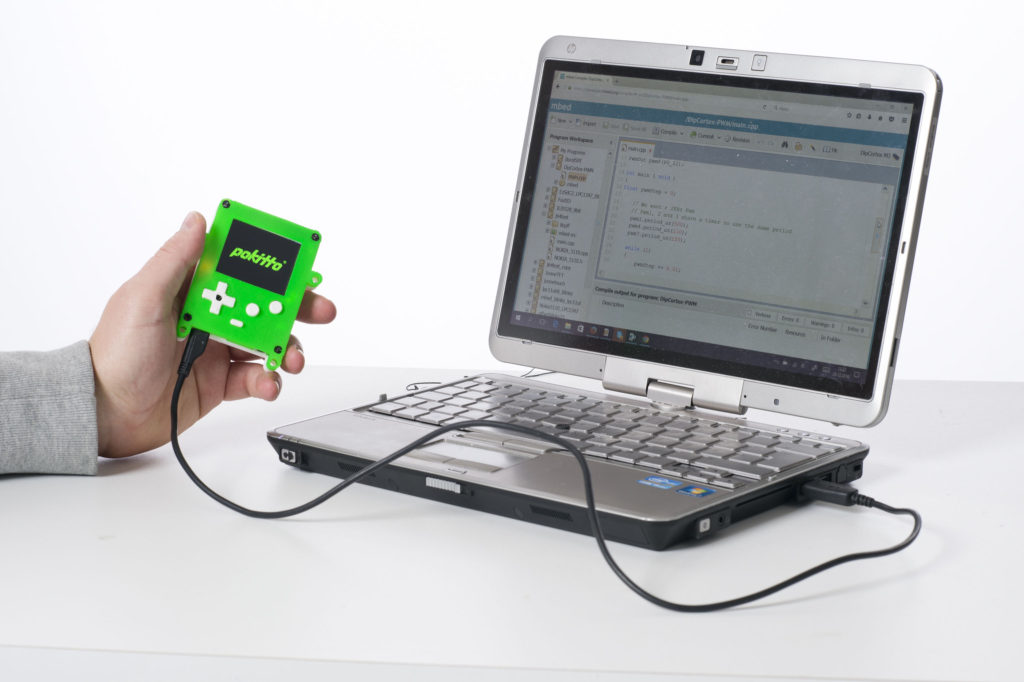
The heart of the game console is an LPC11U68 MCU running at 48 MHz with 36K RAM. I got one of the original LPC1768 Mbed boards back when Mbed was just starting, and I loved the experience. The design and the interface were light years ahead of the vendor’s tools, and Mbed gave you a real C++ interface, not something that was dumbed down. Also, programming the device was very simple: it works everywhere where you have a browser, and no drivers are needed to flash a new application to the board. That’s very big in schools, where the IT department will not let you install any new drivers.
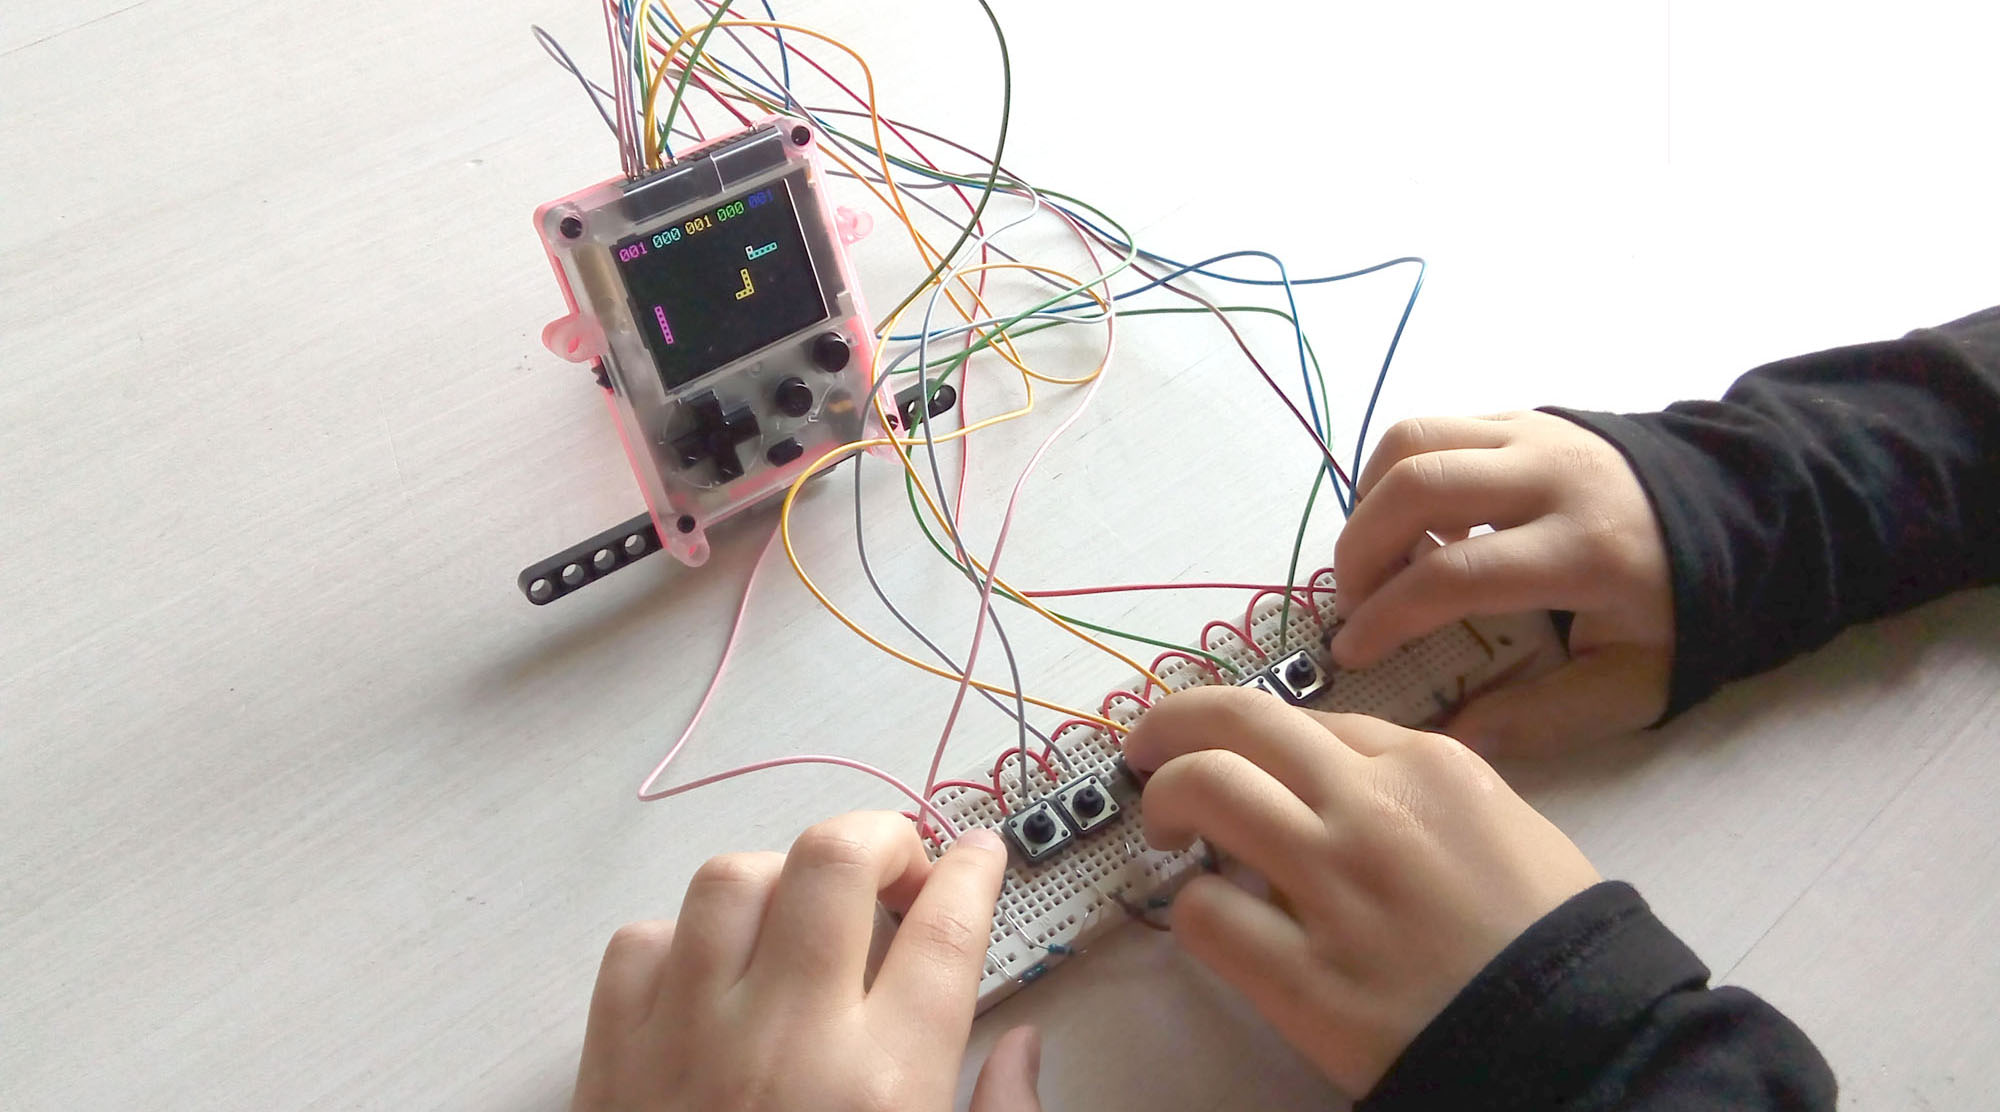
So, I knew I wanted to use Mbed again, and when I saw the LPC11U68, it was love at first sight. It’s Mbed compatible, and everything worked out of the box. On top of that, it’s a very small and powerful chip in a really nice 100-pin package. I did all the PCB design myself. I had some experience doing design but never designed a complete project. I also put a 26-pin header on top of the Pokitto so you can add new peripherals.

You can plug new peripherals into the Pokitto using the headers on top.
How do you get started with the device?
The first thing is actually to assemble it yourself. I wanted it to be a bit like a Lego box, where you click the device together yourself. It takes just a few minutes, and kids love it because it makes it feel like it’s their device, and they get this sense of accomplishment. After that, it’s time to start writing some code.
The easiest way is in the browser, using the Mbed Online Compiler. We wrote a large set of drivers and example programs, which are on the Mbed website and can be imported directly. We wanted to make it really easy to get started, drive the LCD and play sounds. Typically it’s very hard to go from blinking an LED to a full game, so it’s important to have a really simple API design, so everyone could get started. In addition, there’s an offline toolchain and a simulator.

The primary way of writing code for the device is currently C++, which might seem daunting, but with good API design, kids seem to have no trouble with it. The community is very active, and a MicroPython port is in the works, and a block-based editor might be coming soon, too.
What’s next?
Pokitto has been a really fun project that will keep evolving. The early community has been very active, and now that we can get the device in the hands of many more people, we’ll see some really interesting ways to interact with the device. Having the GPIO header on the top of the device helps a lot because you can add all kinds of interesting peripherals or ‘hats’ to it. From controlling the device using a Lego NXT robot motor, to adding wireless connectivity, to doing multiplayer between two Pokittos.
Sounds great. How and where can I get one?
The Pokitto will be on sale in a few weeks for $49 from www.pokitto.com. It comes in a wide variety of colors. After that, head over to the community pages for discussions, example programs and much more.
Thanks, Jonne!
-
This was the fourth article of ‘Built with Mbed’. In this series, we look at innovative IoT projects that use Arm Mbed. Want to be featured, as well? Contact us!
-
Jan Jongboom is a Developer Evangelist IoT at Arm and fondly misses the days of QBASIC.